
Prerequisites
Before beginning, if your Azure DevOps Server instance is behind a firewall, please whitelist our IP addresses:
52.49.74.169
34.251.143.247
18.203.133.47
Your Azure DevOps Server instance must be accessible via DNS. Please ensure that you have assigned a public DNS record that is resolved to your instance, with an SSL certificate defined for the domain you configured.
Step 1: Create a Personal Access Token on Azure DevOps Server.
- Sign in to your Azure DevOps Server
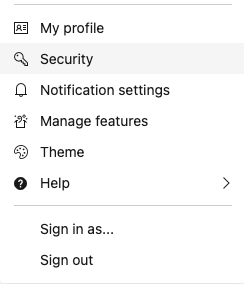
- Click on your profile and select the "Security" option.
- Select Personal Access Tokens.


- Select + New Token
- Name your token, select "All accessible organizations", and then set your token to expire automatically after 1 year at least.
- Choose the desired scopes. (Work Items, Code, Build, Release, Project and Team)
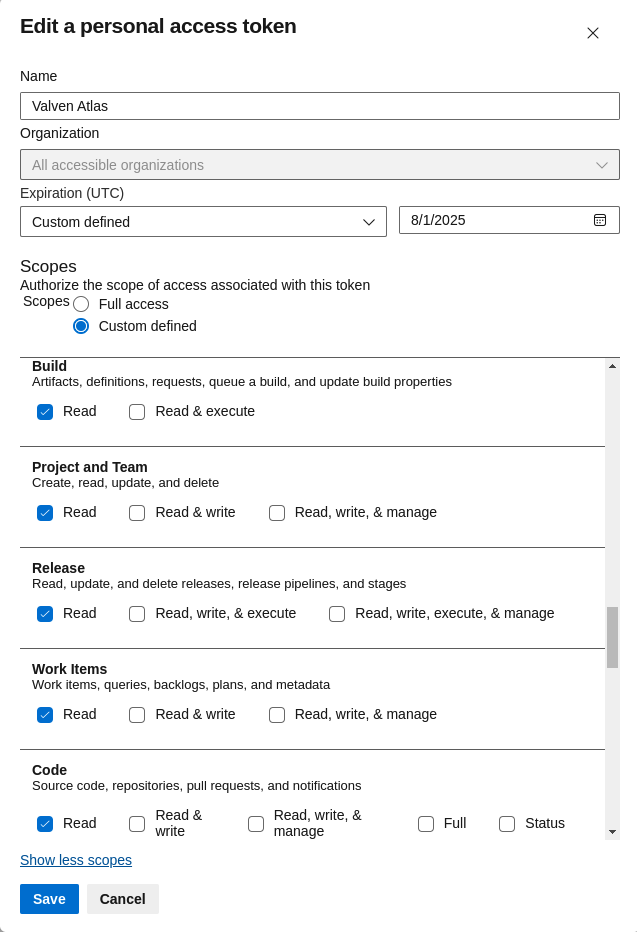
- After clicking the "Save" button, make sure to store the generated token in a safe place, as you will not be able to view it again after closing the page.
Step 2: On Valven, visit Connected Applications on sidebar. Find Azure DevOps Server under Git Providers and click Connect.
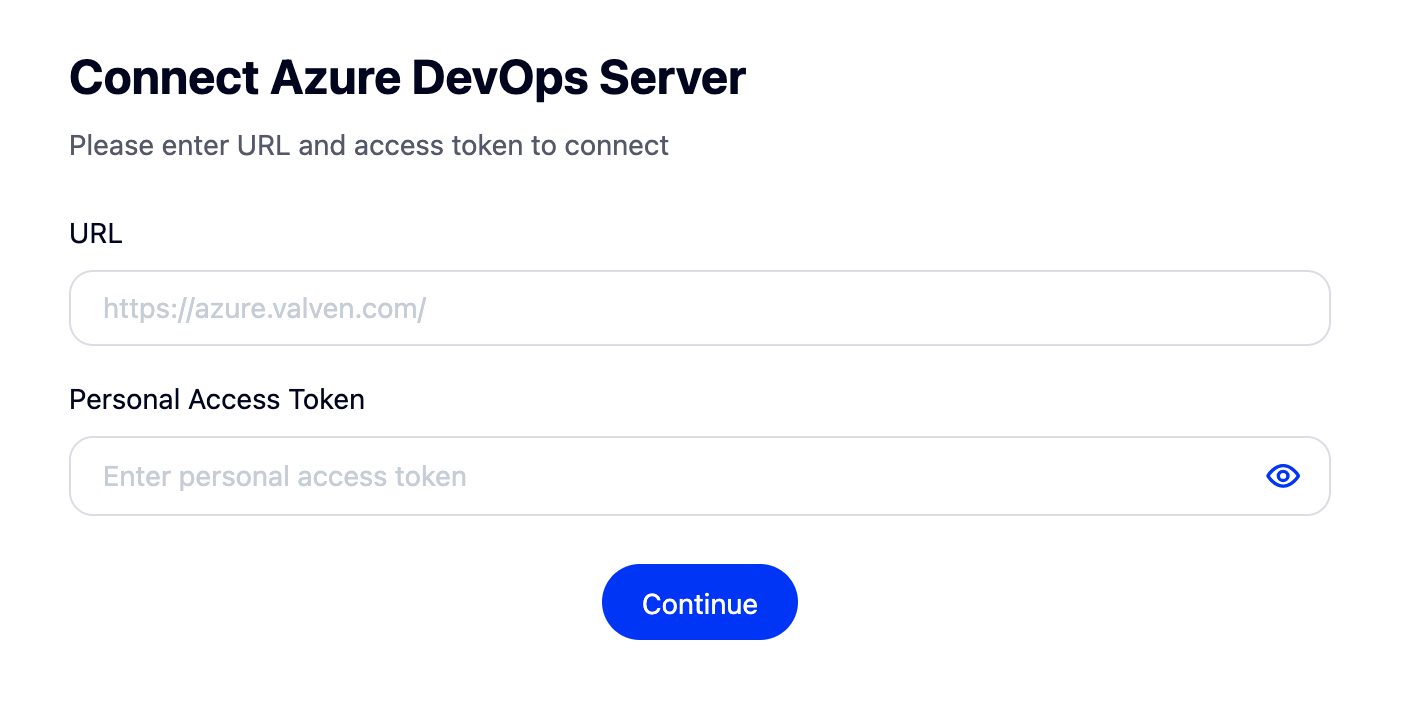
Step 3: Enter URL to Azure DevOps Server and Personal Access Token
Verifying the Connection
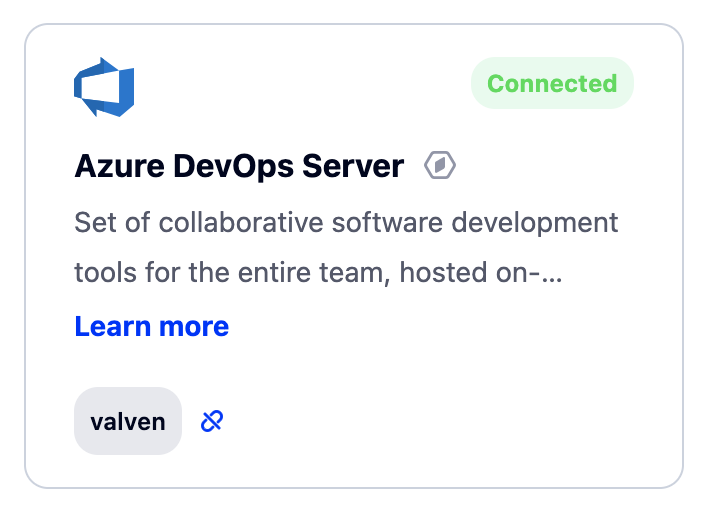
After completing the permission step, you should be redirected to the Valven Connected Apps.
Being redirected to the Valven Connected Apps screen with the 'Connected' label at the top, the project name, and the disconnect icon in your Azure Repos section indicates that Valven integration to your Azure DevOps Server is completed successfully.
You can add your repos to a new project or existing one from Valven. For details, click here.
Comments
0 comments
Article is closed for comments.